Last Updated: May 15, 2024
Applies to: All registered users
This is the section where it is possible to add coworkers and assign a role, and where to create your teams.
Internal team roles include account owner, admin, manager, operation representative, coordinator supervisor or service worker.

In the menu Staff / Member is possible to do the following actions:
1. Add a member
To add a member go to People Tab and select New member.
The menu let you choose to add a member manually or in bulk.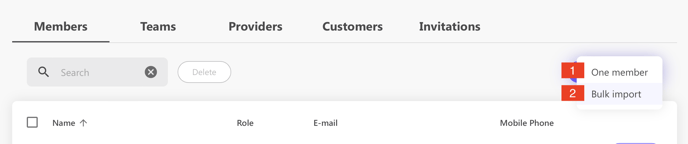
Add a member manually
From the action menu select one member (#1 in the image above)
a. Define the role of the member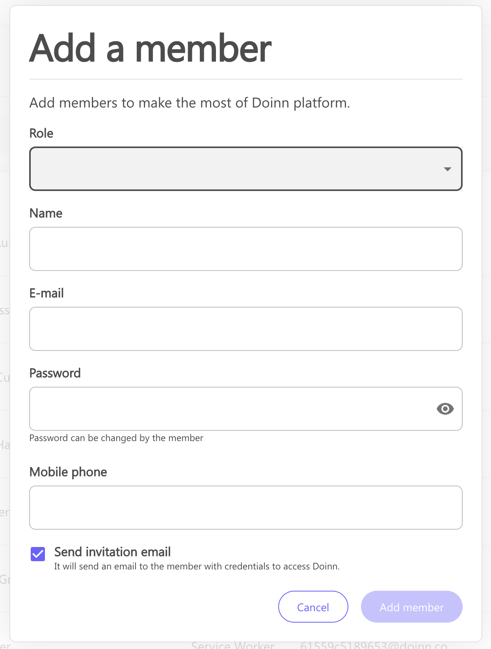
Each member has different permissions and it can be chosen from the menu "Role".
Here a list of the different roles and permissions:
- Account owner
This person manages the highest level of account settings. They have full access and can add other account owners
- Admin
Can add other admins and have access to all features in Doinn platform. This role includes Back Office manager permissions together with Frontline Manager permissions. - Manager
Has permissions such as create properties and checklists, set up integrations, adding automations and invite service providers to connect and send jobs (eg. Reservations Manager). This user is not able to add catalogues or dispatch jobs to service workers - Operation representative
Has the same permission as the manager, except that this role does not have access to financial information such as reports or invoices - Coordinator
Has permissions to manage all features related to the field teams such as dispatch jobs, create catalogues, add supervisors or service workers. They can invite customer that connect and send jobs, eg. Housekeeping Managers.
- Supervisor
Has same permissions as Coordinator except create catalogues or invite customers. Supervisors don't have access to financial informations, eg. Pre-Inspection manager.
- Service-Worker
Can see the details of properties and jobs sent to them. They can also edit service (eg. add extra time) and use instant messaging.
b. Fill all the information and add a member

Complete with email and password (this will be changed once the invited person log in in Doinn) and select Add member.
An email is sent to the new member

c. Complete the information of your members
Once the invitation is accepted, the new member is now in our list.
Select the person and complete the Profile.
In this section, you can also add the Bank account info and make some edits.

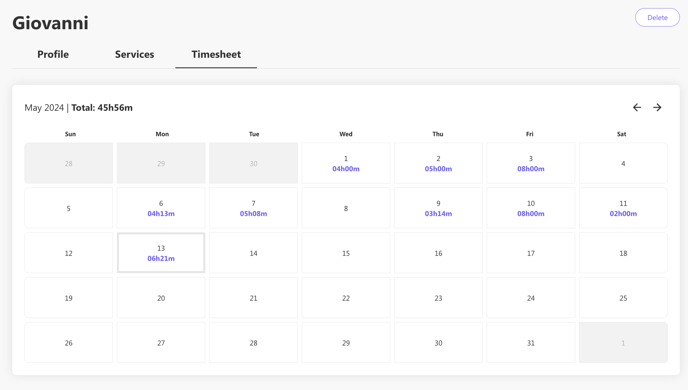
You can also keep track of all the executed services (in case you are providing services)
You can also see the timesheet of the member of your staff
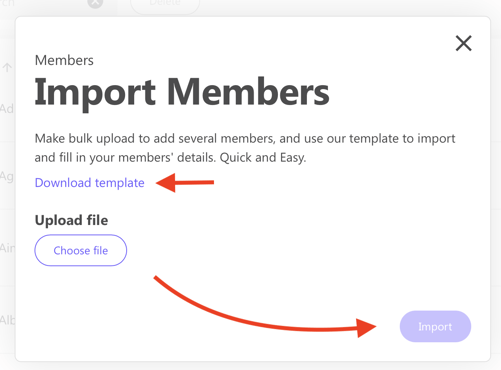
Add a member in bulk
From the menu select Bulk import (#2 in the image below)
Download the template (an excel file) provided by Doinn.
Fill it and then upload it and select import.
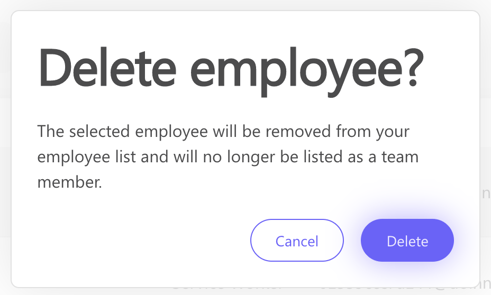
2. Delete a member
To delete a member go to Members, select the member you want to remove and click Delete

A confirmation message will show up to prevent from mistakes.
3. Search a member
A filter comes in your help when looking for a specific member:

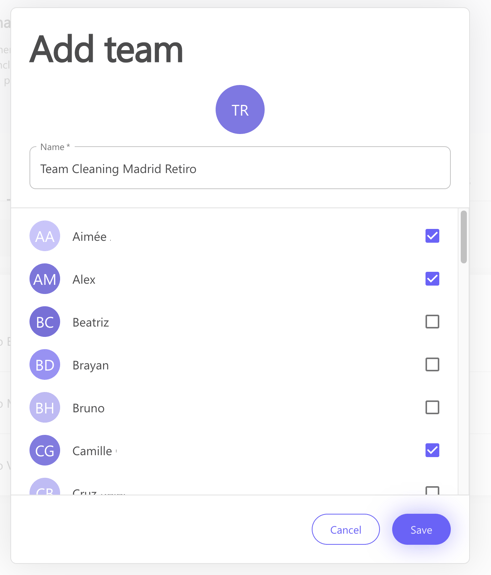
4. Create a Team
When you have all your members, you can create teams.
- Select Add team in Teams tab.
After naming the team you can choose the members that you want to organize in teams.
- The new team is displayed with a quick overview of the people belonging to the group.

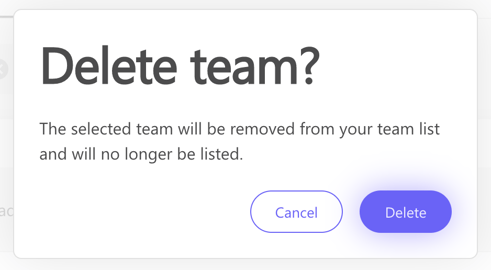
You can always edit a team by selecting it, or deleting it (es shown in the following pictures)
- Edit team

- Delete team