Last Updated: April 12, 2023
Applies to: All registered users
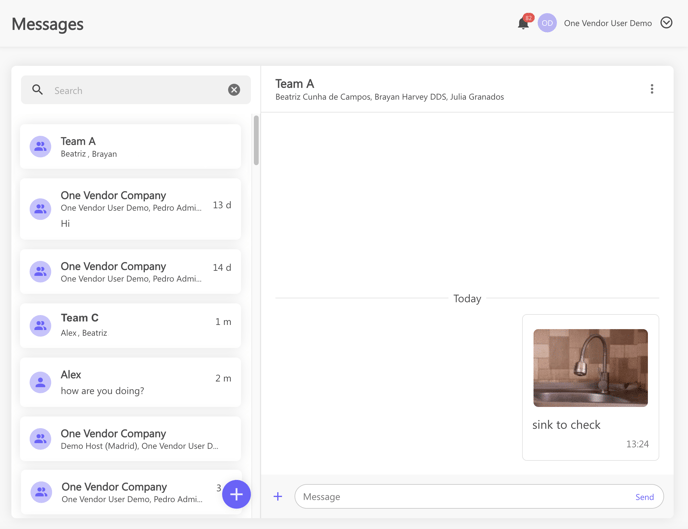
Thanks to our un app messaging you will be able to communicate with suppliers and clients easily and sharing all the information needed. This function is available from Doinn website and from Doinn mobile app too.
How to use the messages tool
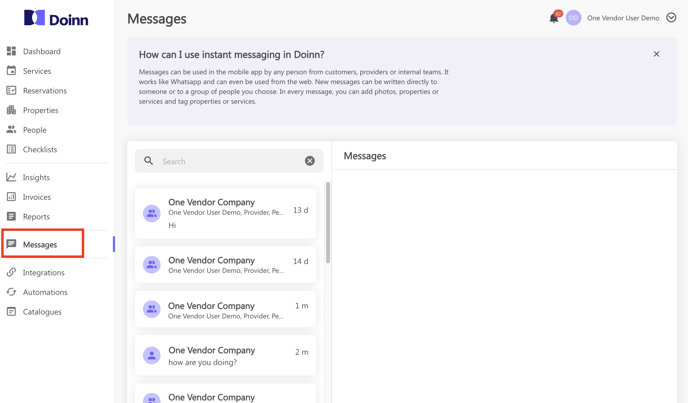
Once you are in the Messages tab, you can easily start a conversation with your suppliers or with the members of your team, such as coordinators and supervisors.
1. New message (direct or to a group)

In the message tab section, select the button + in order to send a new group or direct message.
- Select Group or Direct
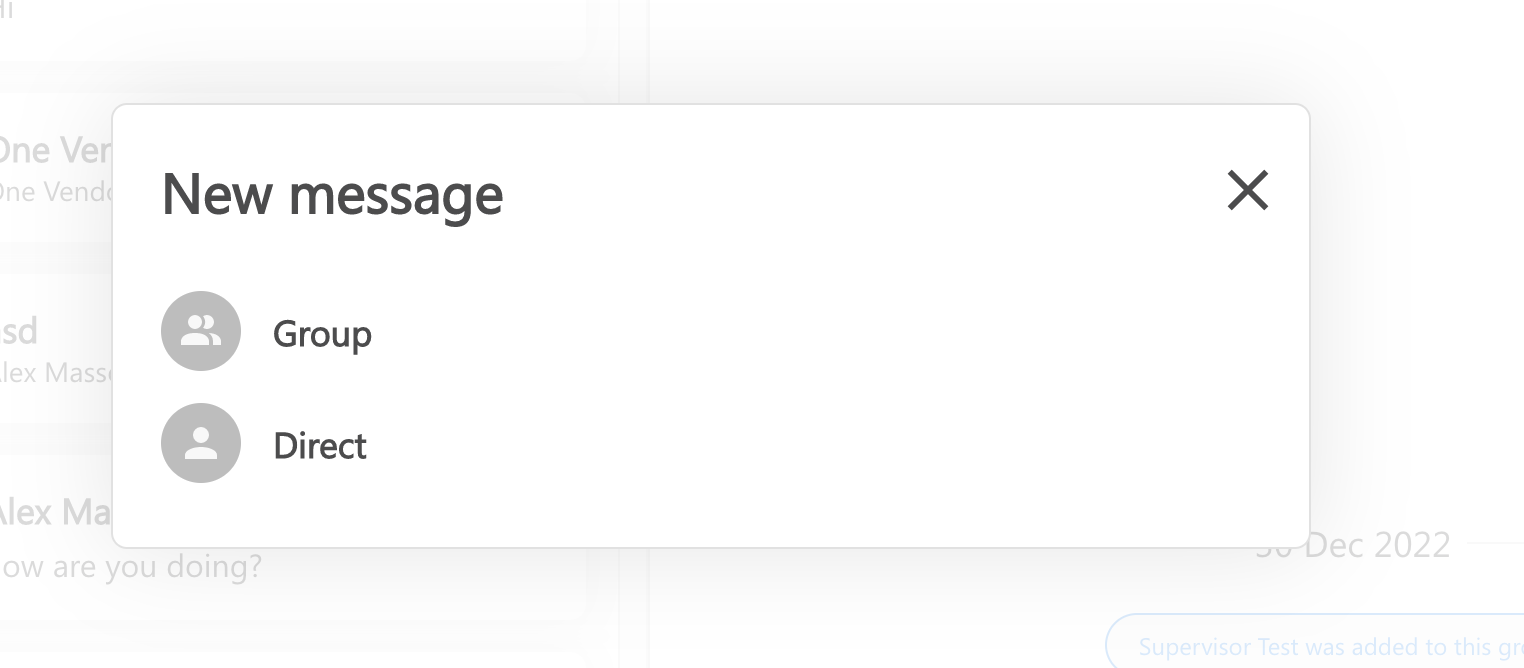
If your messag
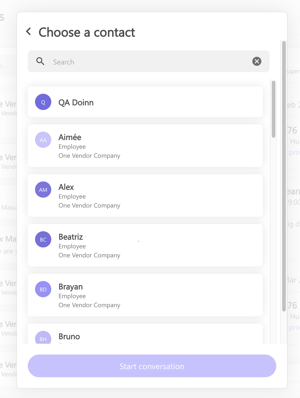 e is meant to be received only to one person you will select Direct and this will lead you to you list of people. Select the contact who will receive the message and click on Start conversation.
If your messa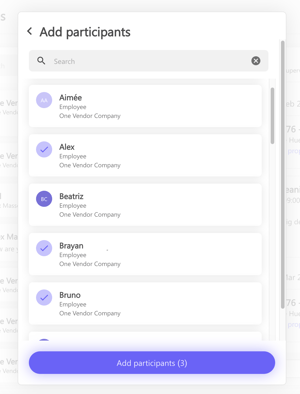 ge is meant to be received to a group of persons you will select Group and this will lead you to you list of people. Select the contacts who will receive the message and click on Add participants.
After naming the group , you are ready to communicate with the selected participants.
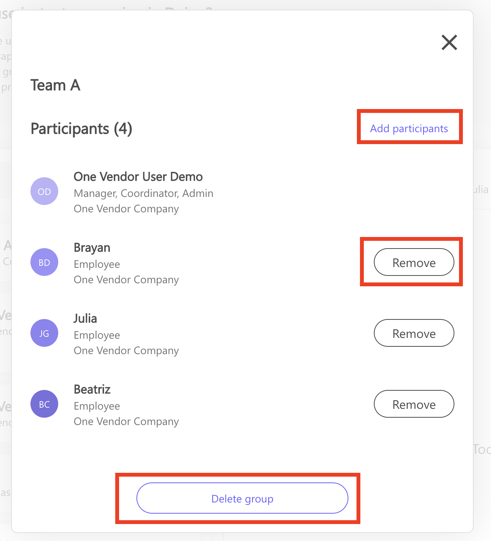
- Add/remove participants and delete group
Now that all has been set, by clicking the 3 dots we can find further options available such as adding new participants, removing some among the invited or, if needed, you can delete the group.

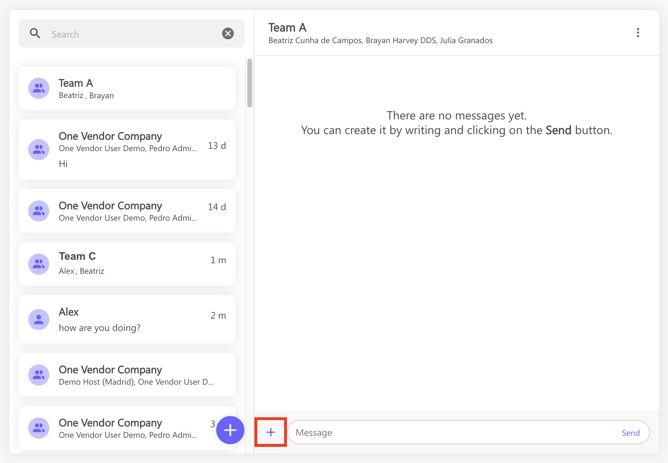
- Add information
Once the group or the direct message is set, you will be able to send direct messages but also some important information by selecting "+"
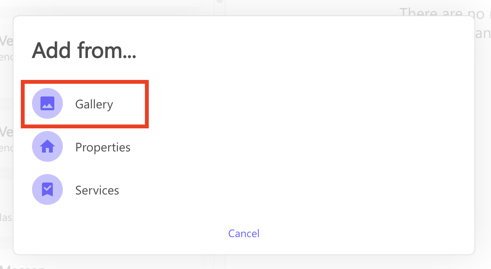
2. Add Photos from the gallery
- Select Gallery
- Select the photo from your archive and add a caption
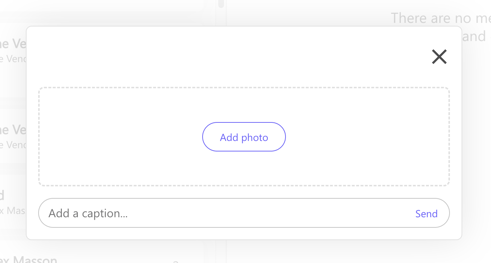
- Send
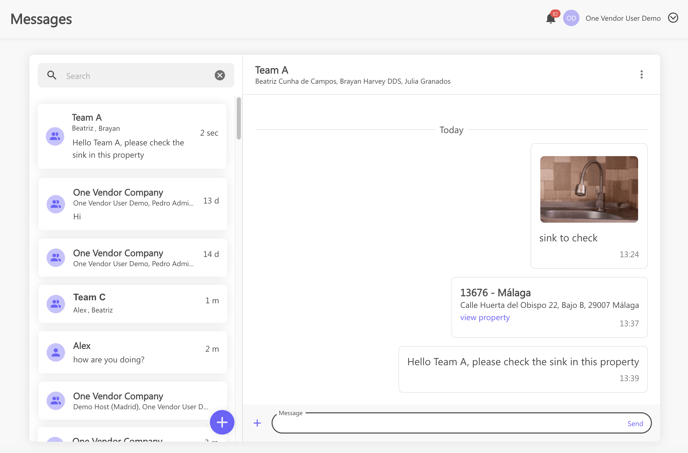
3. Add properties links
- Select Properties
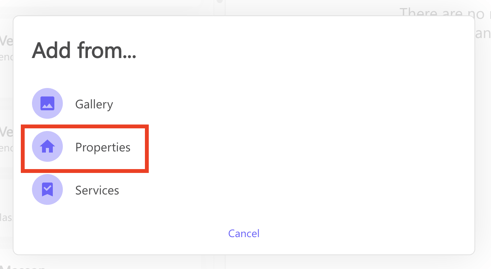
- Select the interested property

- Send

NOTE: By clicking on view property you will redirected to the Property information in the Properties tab
4. Add services links
- Select Services
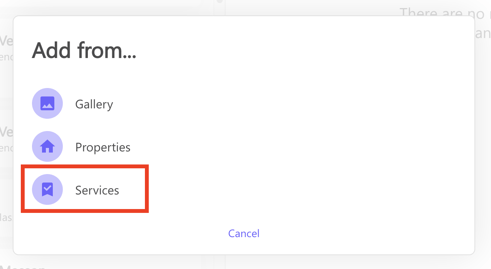
- Select the service or services, you can use the filter to find the service more easily
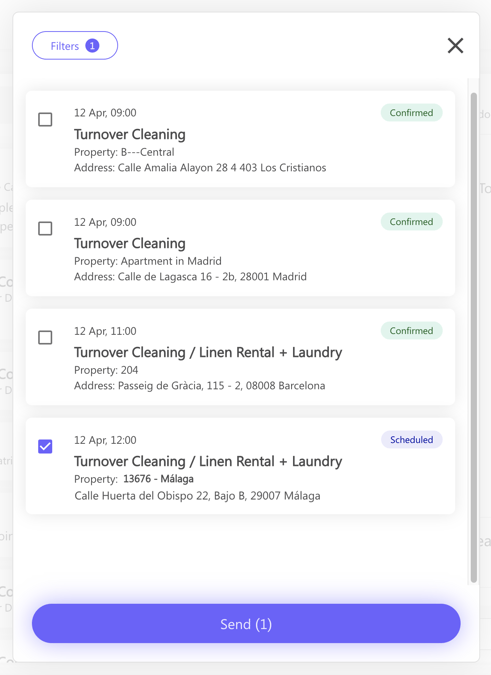
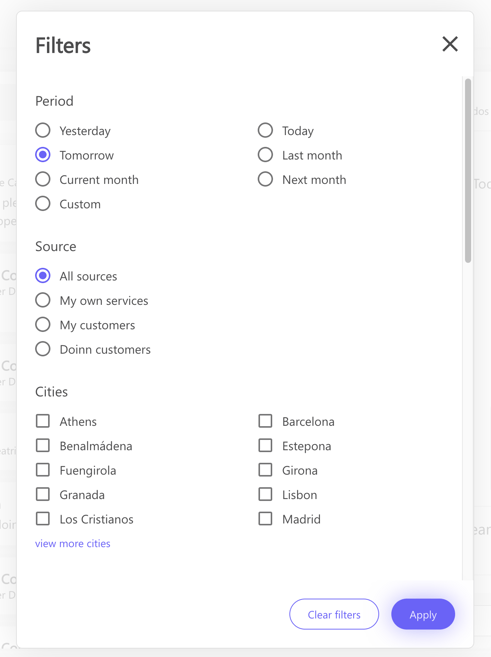
- Send it to the group and add the needed notes
NOTE: By clicking on view service you will redirected to the Service information in the Service tab, where all the informations are stored